
Meet Polished Pink and Color and Contour
Meet Polished Pink and Color and Contour

Welcome to a sneak peak at the new In-Colors for 2021-23 as well as a new bundle, Color and Contour that will be debuting on May 4th in the new Stampin' Up Annual Catalog. The 2021-22 Annual Catalog is packed to the brim with wonderful new products and, as demonstrators we were able to order a select few early. I have to say that the Scalloped Contours Dies that are included in this bundle are one of my favorite items in this catalog, a must have in my opinion. You can see the largest one in every In Color peaking out from behind the stamped images in each card. Let's get going making this card.
First gather your supplies:
1. Whisper/Basic White card base cut 8 1/2 by 5 1/2" scored at 4 1/4" and folded
2. Whisper/Basic White 3 1/2 by 4 3/4"
3. Polished Pink cardstock 4 1/4 by 5 1/2" cut with the largest Scalloped Contours Dies
4. Color and Contour and Scalloped Contours Dies (bundle #158356)
5. Ink--Polished Pink
6. 2021-22 In Color Jewels (#155571)
7. Tasteful Textile Embossing Folder (#152718)
7. Basic supplies--bone folder, Dimensionals (regular), adhesive (I'd say Multipurpose Liquid Glue for this), Blender Brush
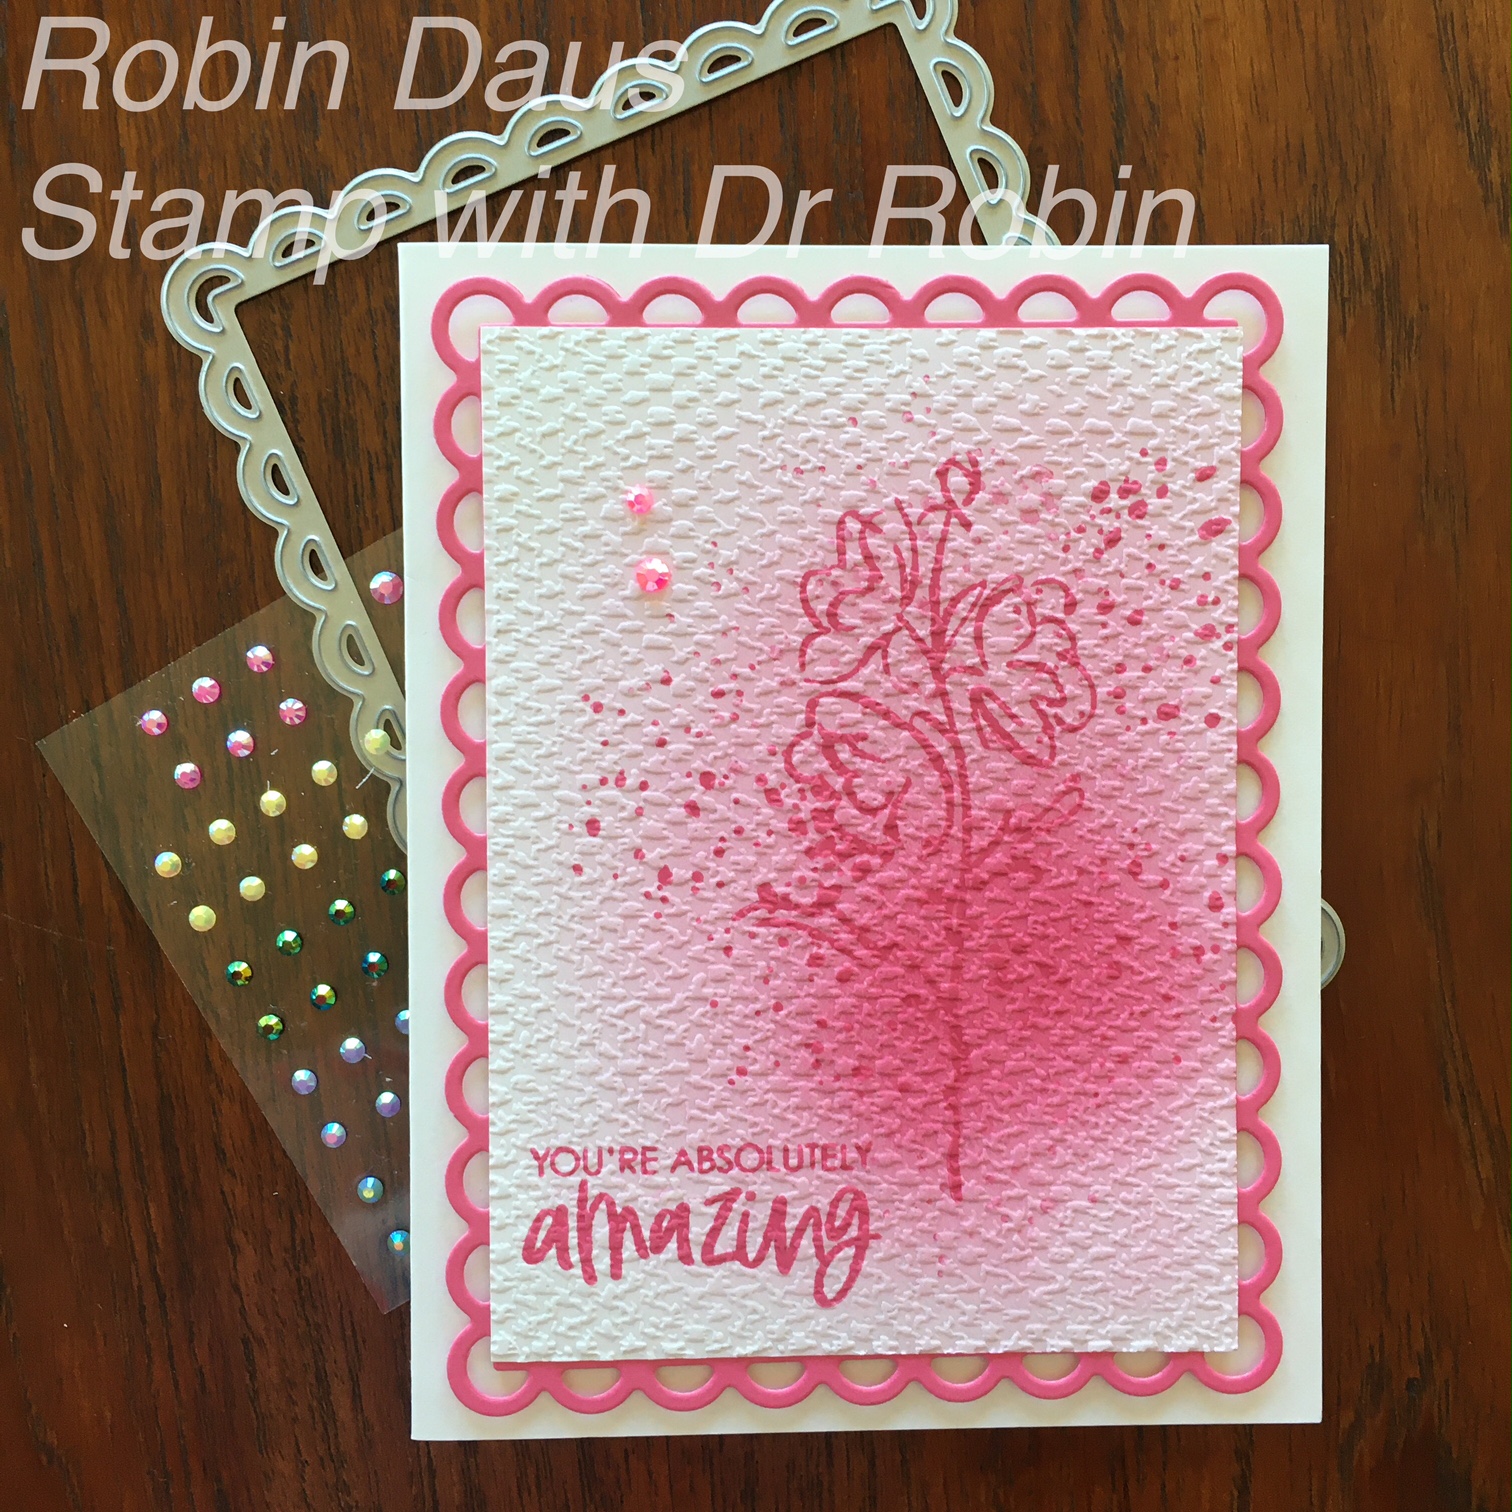

Now you are ready to assemble the card. Attach your card base to the Polished Pink piece cut from the largest Scalloped Contour Dies. Fold your card base in half and attach the above piece with Dimensionals--you will need a lot of them. Then add one big and one small of the pink In Color Jewels and you are done.
This is the card I made on the Facebook Live that's attached--it's a little different as you can see.


Here's my Facebook Live if you want more instruction.
.JPG)


Comments
Post a Comment