
Christmas Scottie Sneak Peek

This is a sneak peek at the Christmas Scottie bundle from the July-December Mini Catalog. I think these Scottie dogs will be such a hit when it is time to make Christmas cards, but can also be used year round for those dog lovers that we all know. To me Scottie dogs just go with red and black plaids, so I paired them with multiple plaids to make this card. If you need help with making this card, please watch my video below--I'm live every Monday at 1 pm PST if you'd like to watch or you can find me on YouTube at Stamp with Dr Robin also. You will be able to order these supplies starting July 1st.
I just received my shipment of Mini and Sale-A-Bration Catalogs, so if you need one, e-mail me at stampwithdrrobin@gmail.com. If you have ordered from me in the last 6 months, I will be sending you a catalog, but if you don't have a demonstrator you are working with, let me know and I will send you catalogs. And then you can drool over all the lovely fall, Halloween and Christmas sets like I've been doing.
Don't forget that you only have until the end of the month to order from the Jan-July Mini Catalog and lots of those products are on sale now!
Let's make this card. First, gather your supplies.
1. Real Red cardstock 5 1/2" by 8 1/2" scored on the long side at 4 1/4", a piece 5 3/8 by 4 1/8", and a 3rd about 3 by 3" (to make the plaid dog)
2. Basic White cardstock 3 3/4 by 5" for the inside, another piece die cut with the middle square of the Stylish Shapes dies. Another piece approximately 3 by 5 1/2" to stamp and cut out the black dog, the bow and the red plaid square. And a piece 2 1/4 by 3/4" for the sentiment
3. Gingham Cottage DSP (#159651) cut 2 3/4 by 5 3/8"
4. Stamp Set--Christmas Scottie (#159740 or the bundle #159744)
5. Dies--Stylish Shapes (#159183)
6. Punch--Scottie Dog (#159743 or the bundle #159744)
7. Ribbon--Black and White Gingham (#156485)
8. Classic Matte Dots (#158146)
9. Ink--Memento Black and Real Red
10. Basic supplies--bone folder, Paper Snips, adhesive (I like Multipurpose Glue), Regular Dimensionals, Die Cutting and Embossing Machine, Mini Glue Dots, Stamparatus.
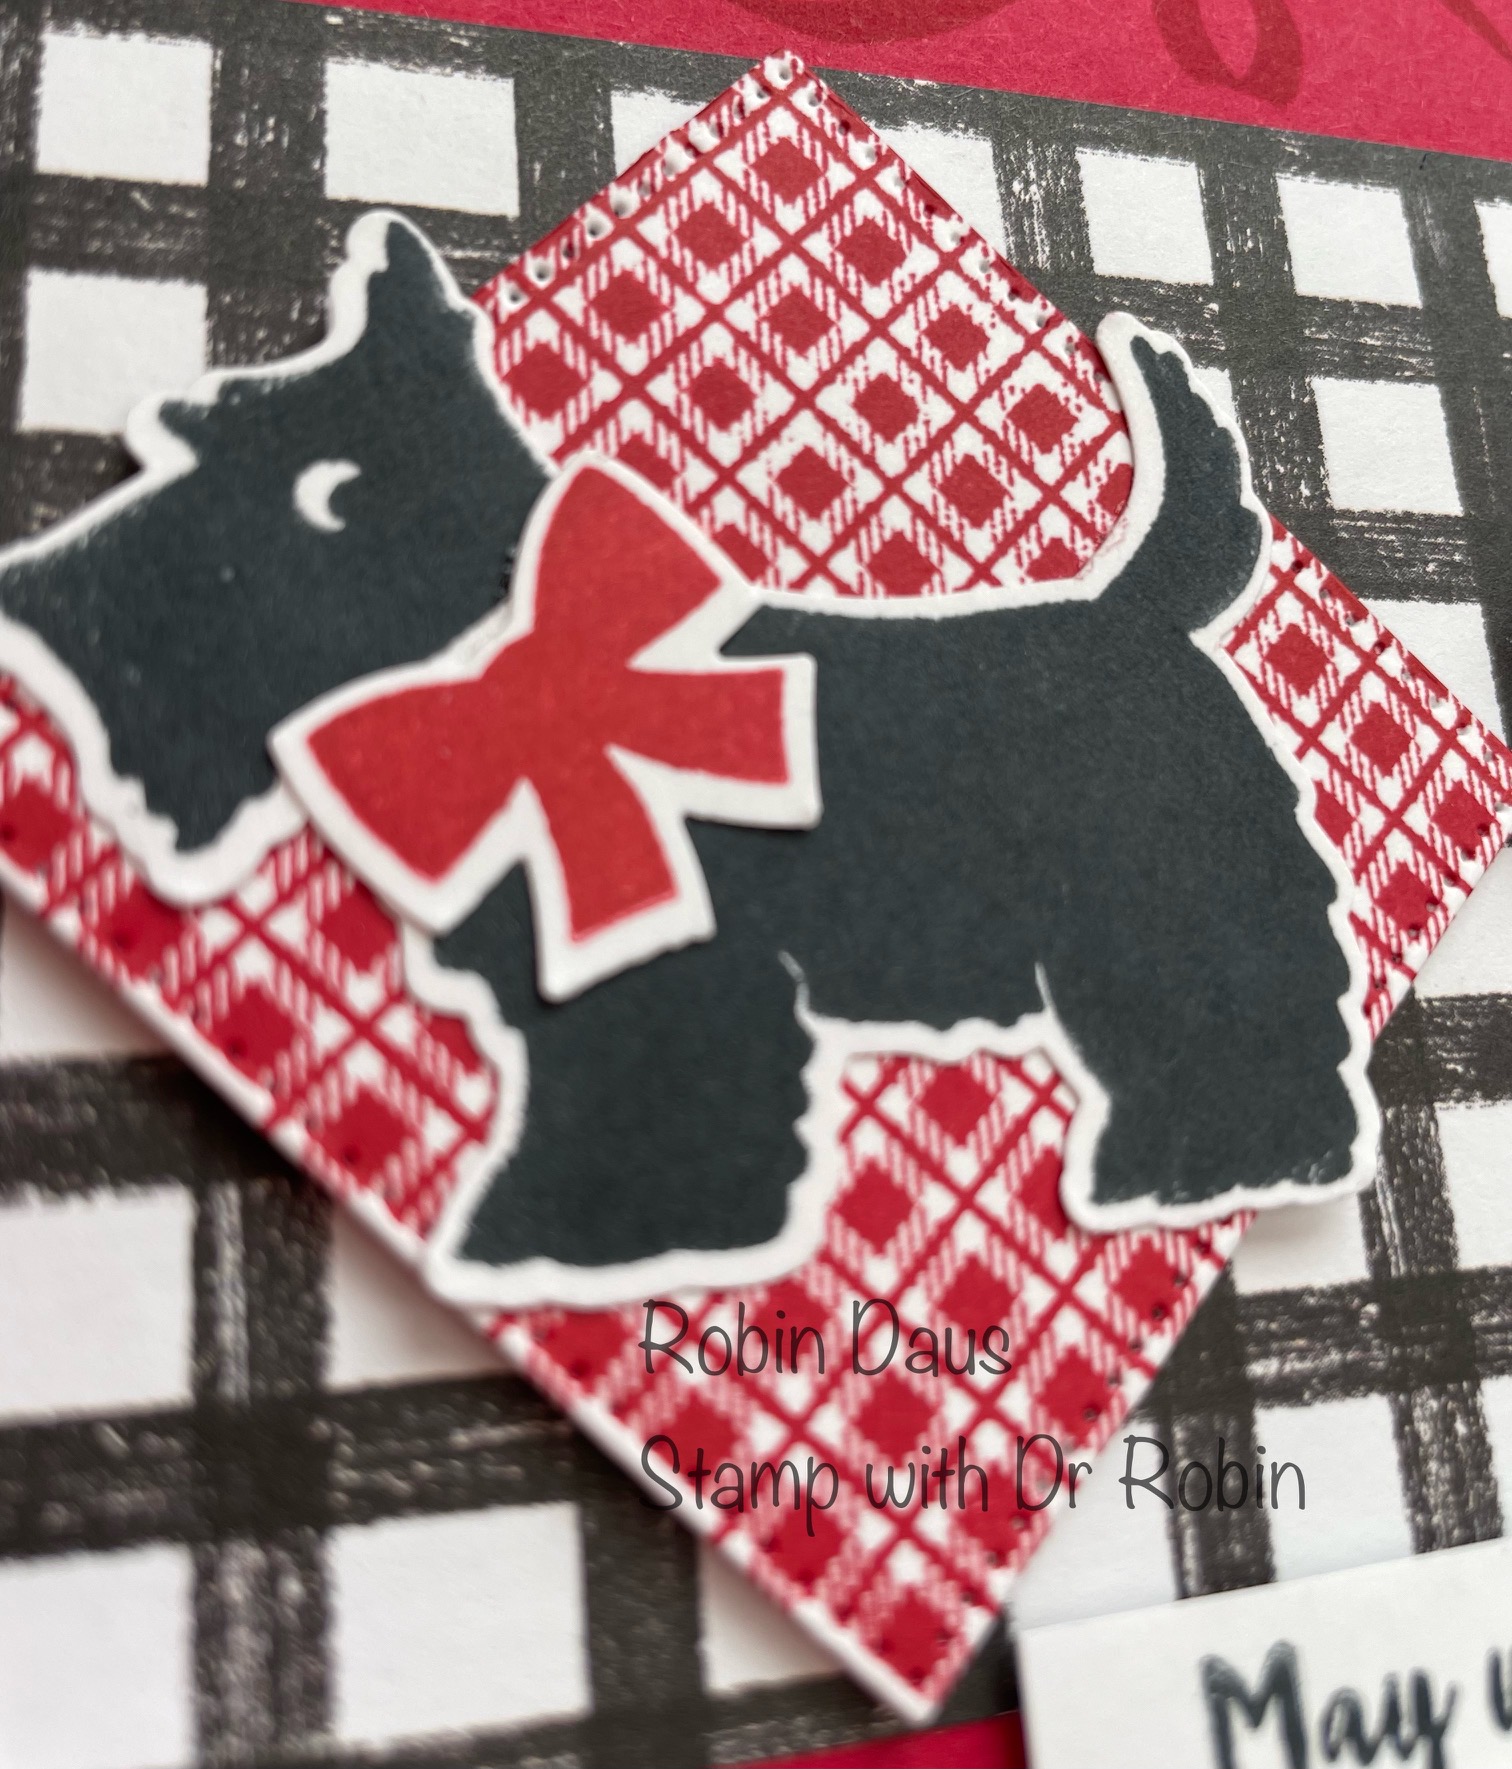
Let's start with the dogs. I used my Stamparatus to stamp the dog and the plaids as I needed to stamp them twice for good coverage. Use Memento Black ink to stamp the first dog and punch him out. Using the same ink, stamp the plaid on Real Red and punch it out also. Now wipe off the plaid and stamp it again on white using Real red and cut it out using the middle square of the Stylish Shapes dies. Glue the black dog to the red plaid square and the plaid dog to the Basic White square. Stamp a red bow, punch it out and add to the black dog with a glue dot or glue. Tie a small bow with the gingham ribbon and add it to the plaid dog with a glue dot. Here's a close up of the dogs.

Take the ribbon stamp and stamp on the inside piece in Real Red. Stamp the inside sentiment in Memento Black. Fold your card base in half and glue the inside piece like this:

Now back to the front of the card. Take the Real Red piece that is 5 3/8 by 4 1/8" and across the top and bottom stamp the ribbon --you will need to stamp it twice for each one. Glue the Gingham Cottage DSP to this piece. Attach this to the card base with glue or Dimensionals. Add the dog squares with Dimensionals. Stamp the sentiment on the 2 1/4 by 3/4" piece of Basic White with Memento Black ink and attach it using Dimensionals. Here's another picture of the card:

Please watch my Facebook Live to see how I made the card. Let me know if you need any supplies and happy stampin'.
.JPG)


Comments
Post a Comment