
Traditions of St. Nick Fancy Fold
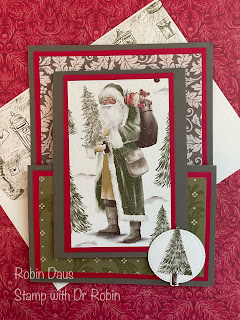

Today I decided to use the On-Line Exclusive Traditions of St. Nick Designer Series Paper to make a really cute new fancy fold. If you count the envelope, I used 5 out of 6 of the papers for this card. If you haven't checked out the many On-Line Exclusives items it is time to go to stampinup.com and go through them all. There are stamp sets, bundles, lots of DSP and kits. My inspiration was this paper as well as a card I received in a leader's swap a couple of months ago with this fancy fold. See below for how it looks unfolded. It is kind of a modified joy fold card.

Let's make this card! Gather your supplies:
1. Pebbled Path cardstock --Card base 4 1/4" by 11" scored on the long side at 2 3/4 and 5 1/2" and folded along the score lines as below. Second piece 8 1/2" by 3" scored at 4 1/4"
2. Real Red cardstock--one piece 4" by 5 1/4", 3 pieces each 2 1/2" by 4"
3. Basic White cardstock -- 2 1/2" by 4" for the inside, a scrap cut with the second smallest Stylish Shapes circle
3. Traditions of St. Nick DSP -- 1 piece cut 3 3/4" by 5", 3 pieces (including the Santa piece) cut 2 1/4" by 3 3/4". If you'd like to make an envelope flap, it uses a 2 1/4" by 6" piece of DSP
4. Stamp Sets--Perched in a Tree, Sending Cheer.
5. Dies--Stylish Shapes
6. Ink--Old Olive and Cherry Cobbler
7. Basic supplies--Bone folder, Paper Snips, adhesive (I like Multipurpose Glue), Paper Trimmer, Die Cutting and Embossing Machine, Regular Dimensionals

Now attach each of the pieces of DSP to a corresponding piece of Real Red cardstock. To see how I cut out the Santas from the DSP, please watch my Facebook Live video below or watch me on YouTube--both are Stamp with Dr Robin. If you notice the large piece of DSP was just turned to the other side for the green Santa card. Now attach each of these to your unfolded card base as per the picture closer to the top, or mix it up if you'd like to.
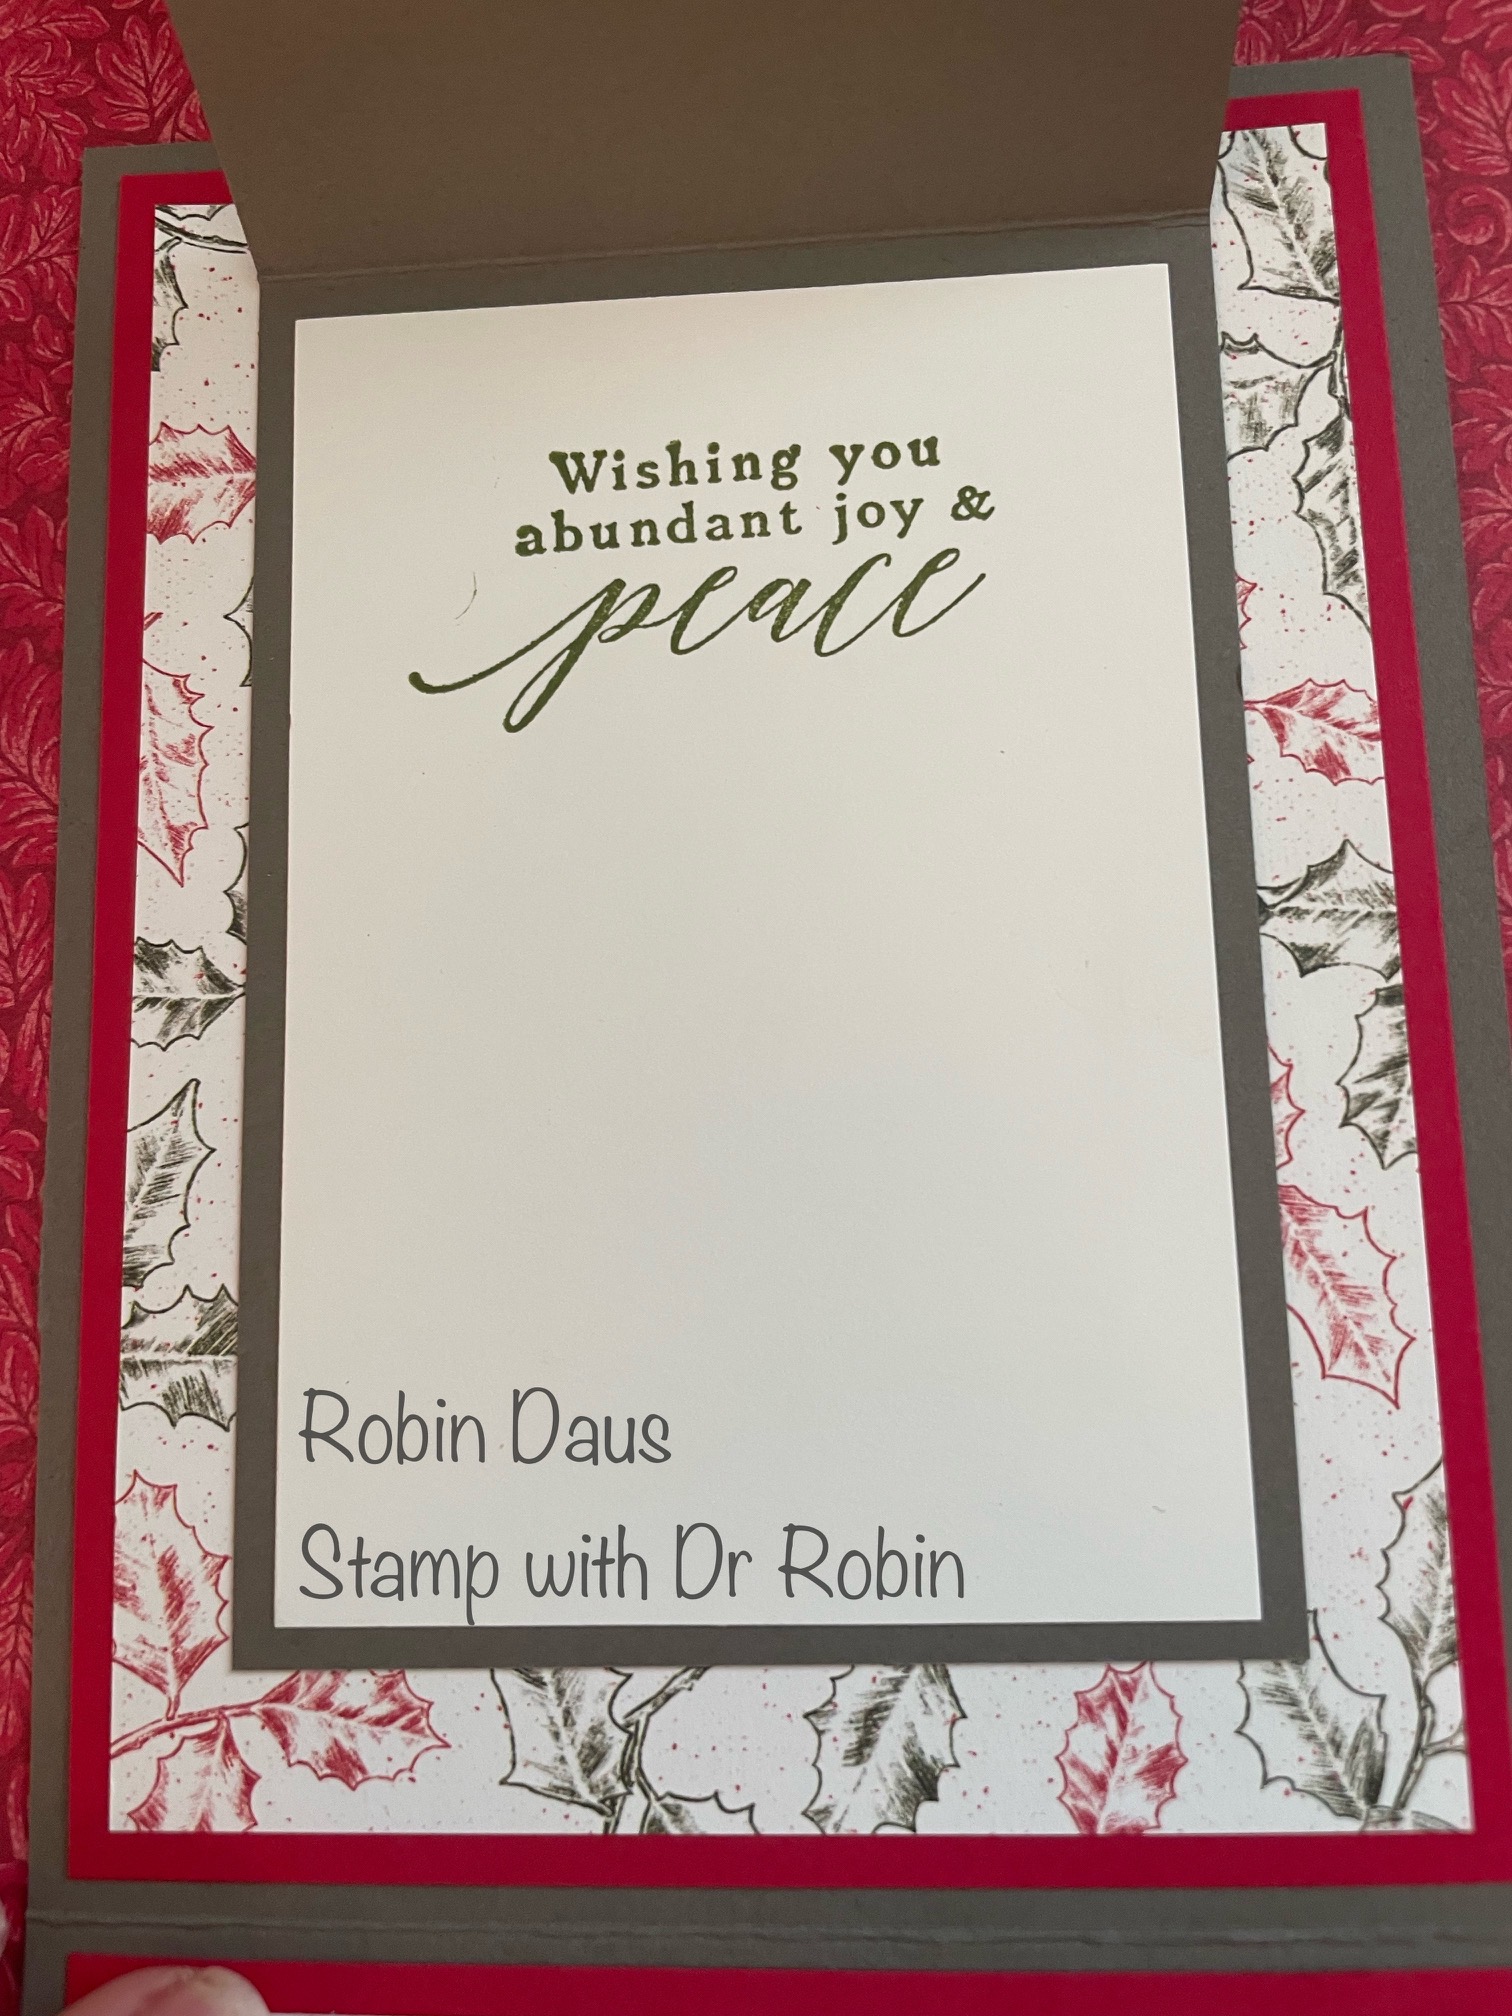
Fold the 8 1/2" by 3" piece of Pebbled Path cardstock in half and and attach the Santa (with the Real Red behind it) to the front of this mini-card. Now for some stamping. Stamp the inside sentiment in Old Olive on the piece of Basic White cardstock and attach it to the inside of this mini-card. Using the holly from Sending Cheer, stamp on the little circle and stamp the berries in Real Red. You could also cut out a small tree from the St. Nick DSP and use that like I did for the green Santa card.
Fold the mini-card with Santa on the front in half and attach it to the center of the top/large part of the unfolded card base. Now fold the card up. Place one Dimensional on the right bottom of your little circle and attach that to the right bottom of the card. Make sure that your Dimensional is fully on the card base and NOT on the Santa piece--that just tucks under the circle to keep it closed.

If you'd like to make an envelope flap, take a 2 1/4" by 6" piece of DSP and attach it to the outside flap of your regular, medium sized envelope as below, making sure it is straight along the fold. Trim away the excess with your Paper Snips.


Here's another picture of both of the cards:

Below is my Facebook Live from 10/23/23 where I make this card, and show you some tips to help with the cardmaking. Join me every Monday at 1 pm PST for some cardmaking fun over on Stamp with Dr Robin on Facebook. Or follow me on YouTube with the same name (be sure to hit the Subscribe button while you are there). And let me know if you have questions. You can click on the red Robin above left to order these supplies from my store.
.JPG)


Comments
Post a Comment