
Hot Air Balloon Sneak Peak

I have a fun sneak peak from the 2024 Jan-April Mini Catalog for you. This is a beautiful suite of products called Lighter than Air which features a stamp bundle, a Rainbow assortment of Adhesive-Backed Dots and a package of 6" by 6" Designer Series Paper. Demonstrators can order from this catalog starting 12/5/23 and customers on January 4th, but I thought you'd all like to see it now. This suite is on pages 32-34 and is just so fresh and Springy and the small prints on the DSP as well as the twine and dots would go well with so many other stamp sets too. Please watch my Facebook live below to see how all the different pieces in the bundle work with each other.
Let's make this card! Gather your supplies:
1. Lemon Lolly cardstock --Card base 5 1/2" by 4 1/4". Second piece (can use the other part of the half sheet of cardstock) cut 5 1/2" by 4" and scored on the long side at 2 3/4" and folded. Scrap to cut the sentiment piece.
2. Basic White cardstock--two pieces 2 1/2" by 3 3/4", scraps for the balloon and basket. Scrap piece about 5" by 2" for cutting the Basic Border balloons.
3. Lighter Than Air DSP--5 1/4" by 6" scored on the longer side at 4"
4. Stamp set--Hot Air Balloon
5. Dies--Hot Air Balloon, Basic Border
6. Ink--Fresh Freesia, Calypso Coral and Balmy Blue
7. Rainbow Adhesive-Backed Dots
8. Basic supplies--Bone folder, Paper Snips, adhesive (I like Multipurpose Glue and Seal+), Paper Trimmer, Stampin' Cut & Emboss Machine, Take Your Pick Tool, Piercing Mat, Regular Dimensionals, Blender Brush

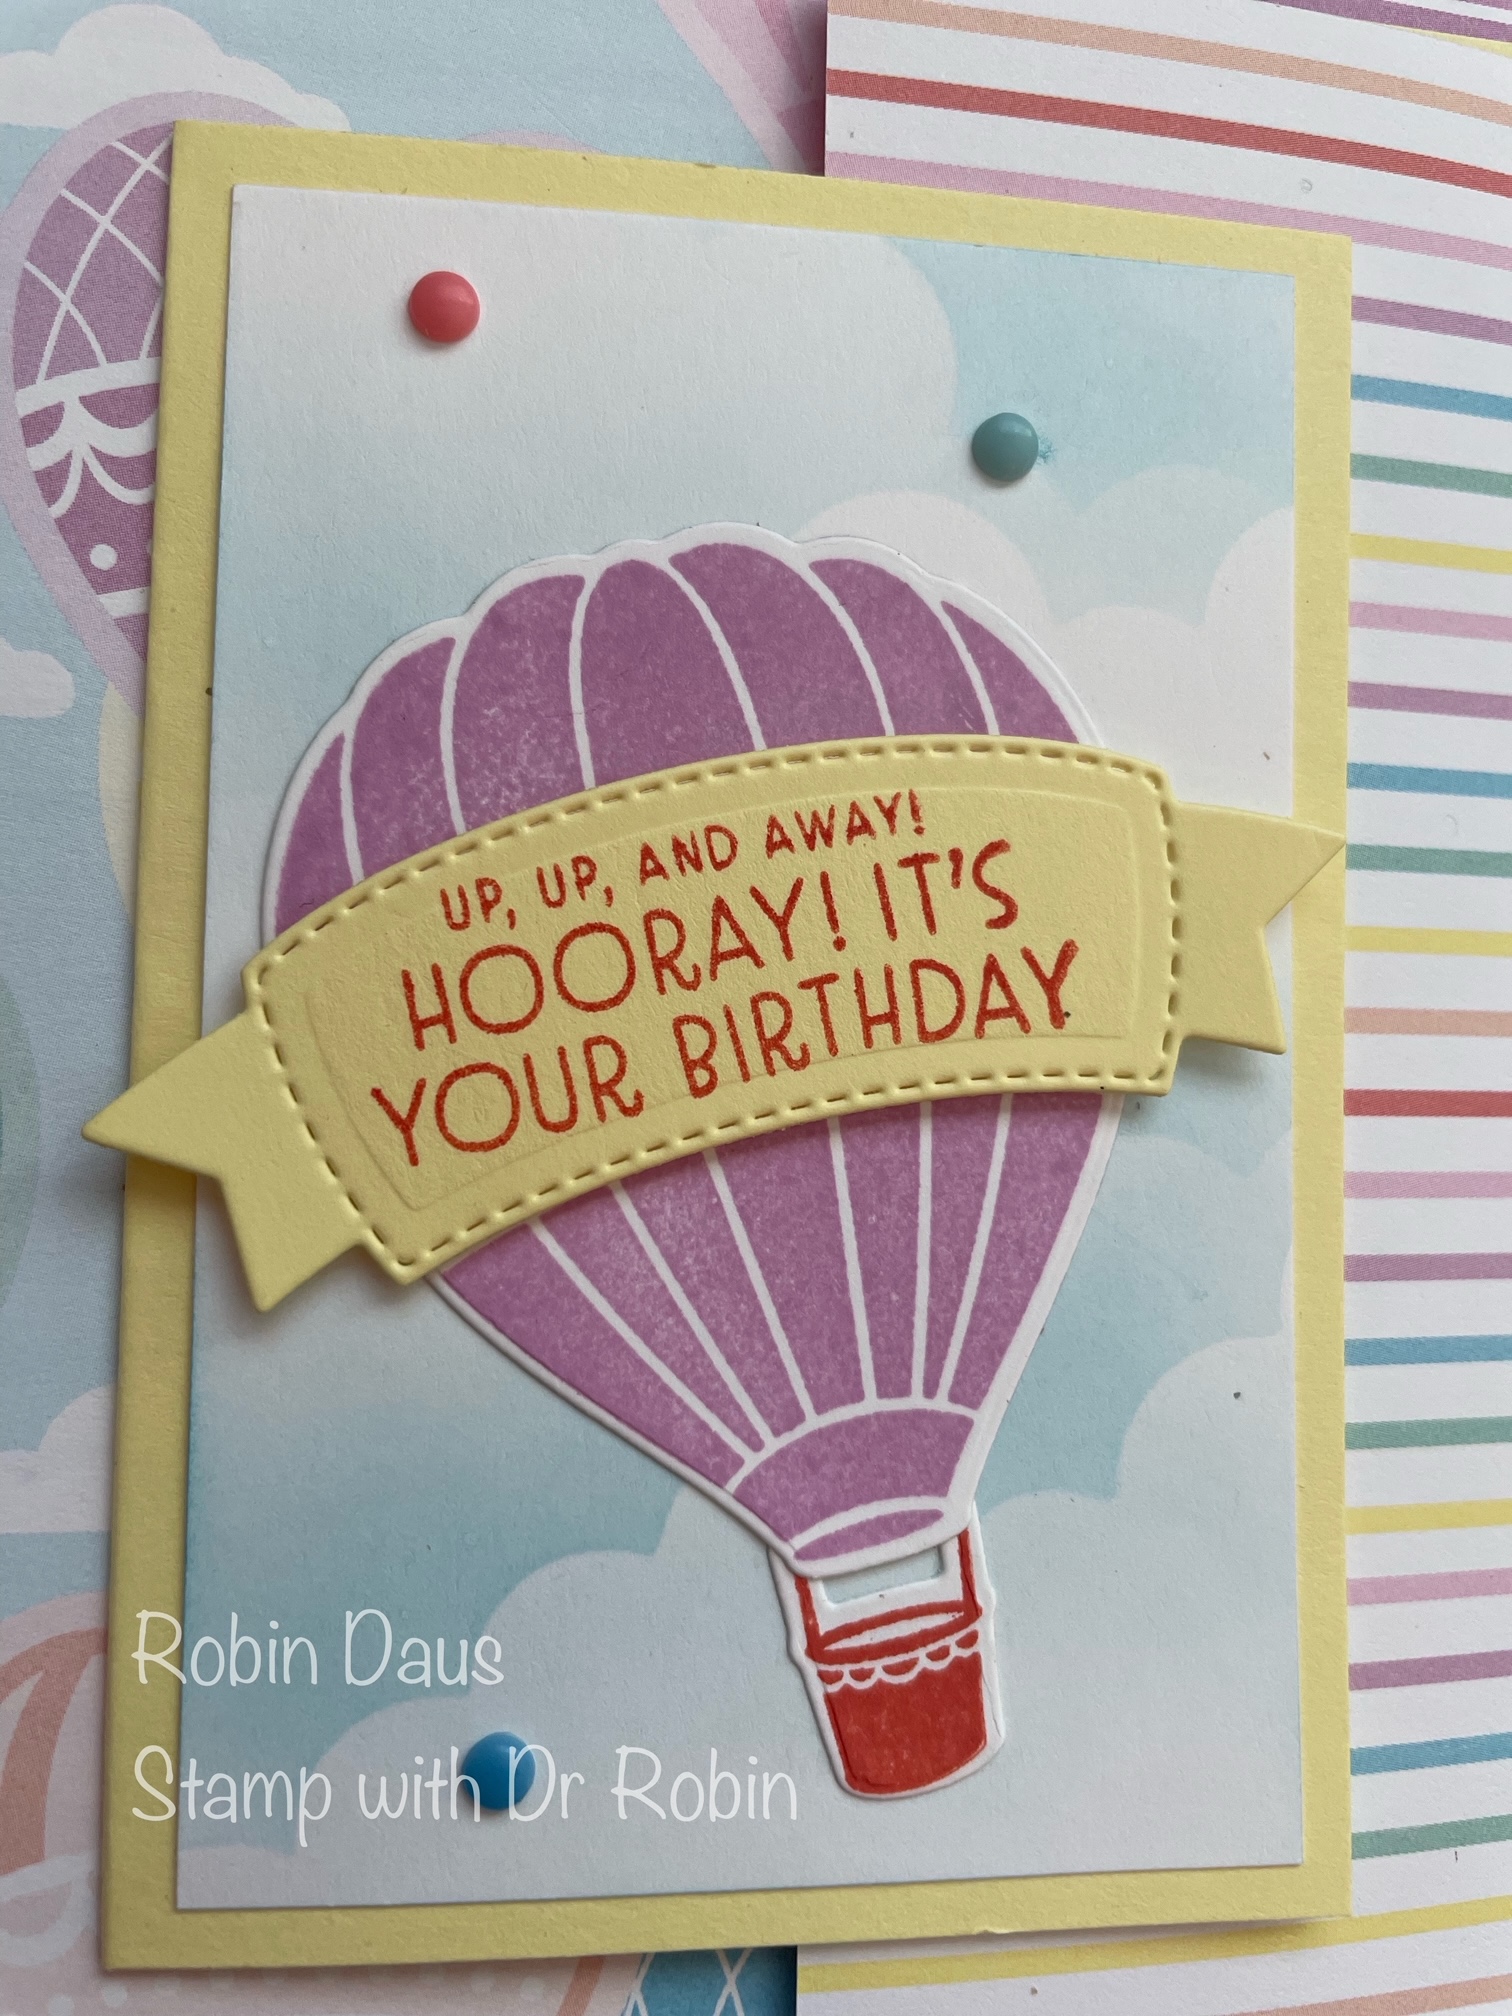
Now take a scrap piece and stamp the large hot air balloon in Fresh Freesia and die cut it out. Stamp the larger basket in Calypso Coral and die cut that out too. For the sentiment, curve the photopolymer a bit so it fits the Lemon Lolly piece better. Stamp it in Calypso Coral. Glue the balloon to the cloud piece and glue the basket on too--I lifted up the bottom of the balloon and slipped it under. Attach the sentiment piece with Dimensionals and attach this whole thing to the folded piece of Lemon Lolly.

Here is how the card folds up.

Below is my Facebook Live from 12/4//23 where I make this card, and show you some tips to help with the cardmaking. Join me every Monday at 1 pm PST for some cardmaking fun over on Stamp with Dr Robin on Facebook. Or follow me on YouTube with the same name (be sure to hit the Subscribe button while you are there). And let me know if you have questions. You can click on the red Robin above left to order from my store.
Happy Stampin',
Robin
.JPG)


Comments
Post a Comment